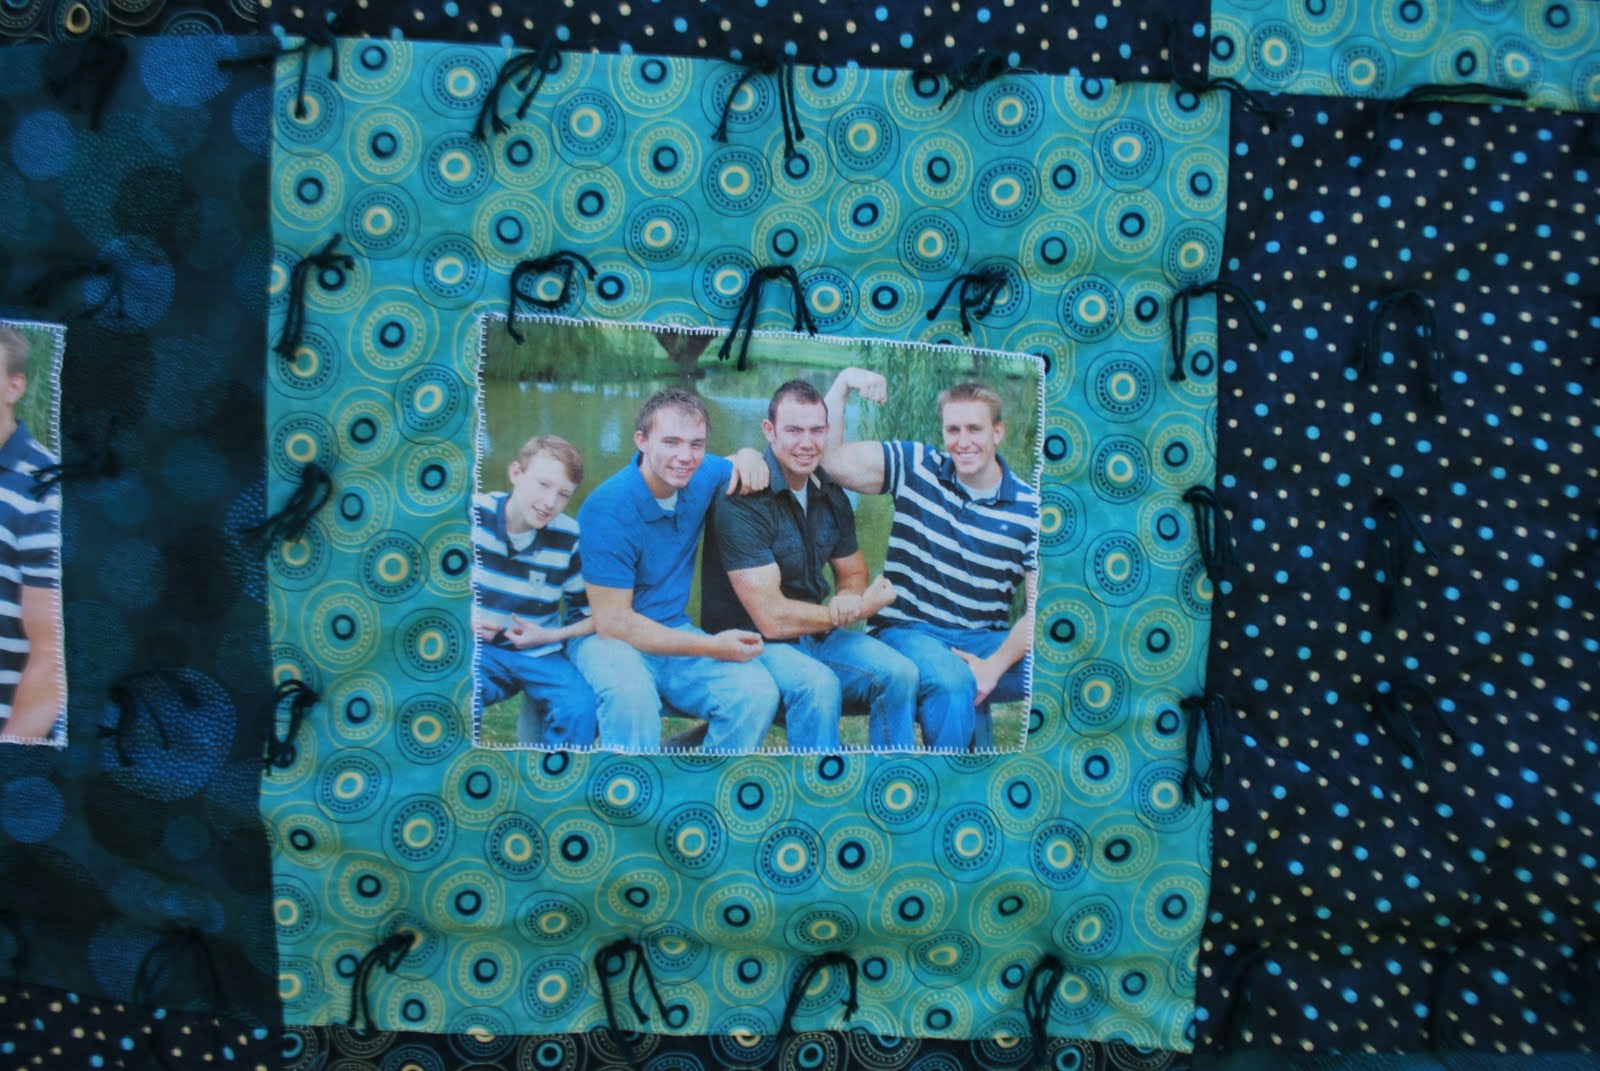
It's not perfect, but I learnt so much while making this quilt and am so excited to make many more personalized quilts like this one for family and friends.

My brothers

The Boys and their guns!
The Anderson Kids


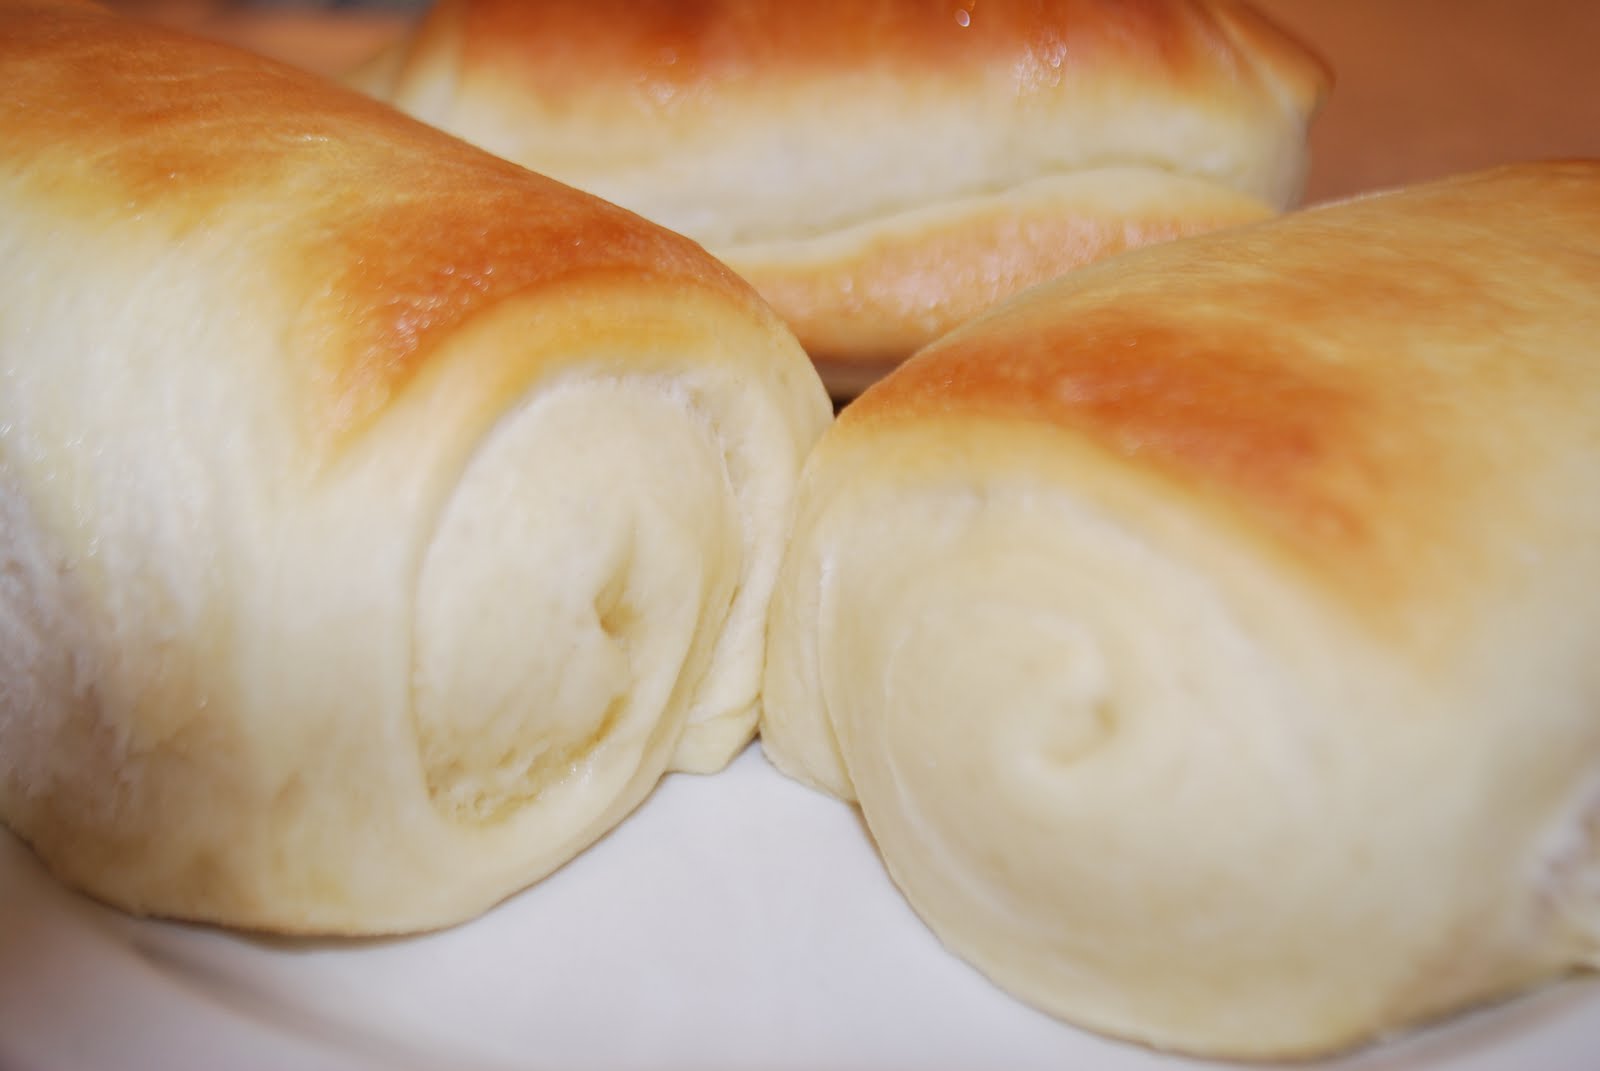
I don't really know what to say about this roll recipe. The only words that come to mind when I think of them are soft, buttery, delicious and awesome! My sis in law Liz first made these to bring to our family dinner some months ago and I am SO grateful that she was willing to share the recipe with me. I think the pictures speak for themselves. It really doesn't matter what I make for dinner on Sunday, these rolls are always on our dinner table. Give them a try...you will NOT be disappointed...promise! I'm not sure where the original recipe came from so in our family and for the purposes of this blog I'm going to call them Auntie Liz's fantastic buttermilk rolls!
Auntie Liz's Fantastic Buttermilk rolls

1/2 cup milk (I use Vitamin D or full fat milk)
1/2 cup buttermilk
1/3 cup sugar
1 tbsp yeast
1/3 cup oil
2 eggs beaten
3 1/2 cups flour
2/3 tsp salt
Put milk and buttermilk into a glass measuring cup and microwave approximately 35 seconds. Add sugar and yeast to milks and stir until sugar is somewhat dissolved. Put that mixture into bread maker. Then add all other ingredients into bread maker and hit dough cycle.
Once the cycle is done I roll it all out into a circle on a floured surface and cut like a pizza and use triangles to make crescent shaped rolls. I usually get from 16-20 rolls per batch depending on how well the dough rises in the bread maker. I usually add a little bit of flour to the dough when I am rolling it out so that it's not too sticky. If the dough is sticky it doesn't rise as well so don't hesitate to add a bit of flour if you need to. Melt 1/3 of a stick of butter on your pan (I usually stick it in the oven on 375 degrees for a few minutes) and spread butter over pan. Place your rolls onto the pan and cover with a towel. Let rise 30 minutes. Bake 8-11 minutes on 375 degrees. Sometimes I let them rise the 30 minutes and other times I don't. The rolls taste the same either way, but obviously are a little bigger and lighter if you let them rise the 30 minutes. You can shape the rolls however you want.
Here are some more photos for you to drool over.


2 comments:
Nat, you are such a domestic diva! How does it feel to be a free woman?? Now you will have even more time to do all those fun things you love. Congrats!
I'm making these for Easter dinner, I don't have a bread maker , so I'll see how they do :)
Post a Comment